30 days javascript challenge/ Day 03
Do not use SASS variables, use CSS custom properties instead.
I was supposed to post an article on my solution to the Day 02 challenge of javascript30. I couldn't find the energy to re-write a completed article that got wiped just before publishing. Moral of the story: whenever you have a network connection glitch, always copy your article and keep it somewhere before you refresh your page. Else...🙃🙃
Day 03: CSS Variables
Overview:
This article describes my approach to the 3rd challenge and what I learnt during the process.
First of all, you need to start using CSS custom properties. I think it is cool and has more functionality compared to SASS variables.
Variables allow you to assign a value to a name, and then you can refer to that name anywhere in your code instead of the value itself. This allows you to write easier code and avoid repetition.
In SASS, the variable name starts with $ while in CSS custom properties, the variable name starts with --. SASS and CSS custom properties are not exactly the same. One major difference is you can manipulate CSS custom properties with Javascript but that doesn't work for SASS. Read this article for more information (you will definitely enjoy it).
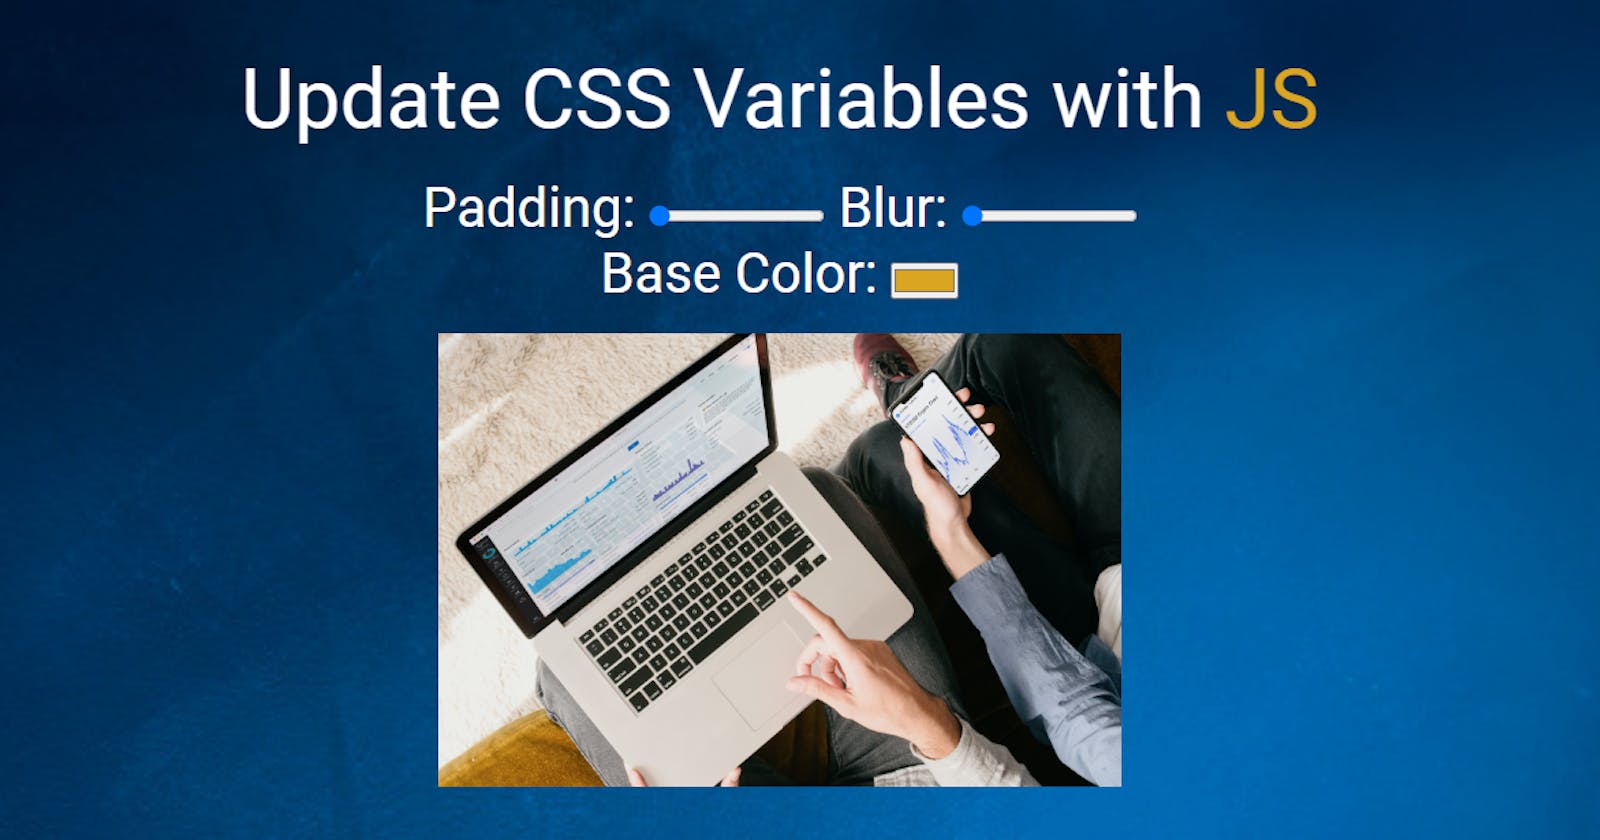
The aim of this challenge is to update CSS variables with javascript.
Objectives:
- create HTML inputs:
rangeandcolor - upload an image
- change the properties of the image using the inputs
- also change the color of a text on the web page
my solution:
HTML
- create HTML inputs
rangeandcolorwith their corresponding labels - add a min and max value for the range
- add a default value for the inputs
The change in these values will affect the styling of the Image, and this is done using Javascript. A data-attribute helps to collect the attached units to the values generated from the range input.
  <div class="content">
    <h1>
      Update CSS Variables with <span class="js">JS</span>
    </h1>
    <div class="input">
      <label for="paddingRange">Padding:</label>
      <input type="range" name="paddingRange" id="paddingRange" min="0" max="5" value="1" data-sizing="rem">
      <label for="blurRange">Blur:</label>
      <input type="range" name="blurRange" id="blurRange" min="0" max="25" value="0" data-sizing="px"> <br>
      <label for="color">Base Color:</label>
      <input type="color" name="color" id="color" value="#daa520" >
    </div>
    <div class="image"><img src="/contentImage.jpg" alt="laptop"></div>
  </div>
CSS
declare the custom CSS variables for the
:rootmake sure the variable names match the
inputnames
:root {
  --color: #daa520;
  --paddingRange: 1rem;
  --blurRange: 0px;
}
- Use the variable names as values for the
imgproperties for styling
img {
  max-width: 100%;
  padding: var(--paddingRange);
  background: var(--color);
  filter: blur(var(--blurRange));
}
- add style the
Jstext using the variables
.js {
  color: var(--color);
}
Javascript
- declare a variable that selects all the inputs
- add an Event listener that will fire a function once there is a change in the input values
- the function collects the input values and updates the custom variables
- since the values collected is without a unit, the unit is added using
dataset
const inputs = document.querySelectorAll('.input input');

function handleUpdate() {
  const suffix = this.dataset.sizing || ''; // or statement is used to receive values without units like color
  document.documentElement.style.setProperty(`--${this.name}`, this.value + suffix);
}

inputs.forEach(input => input.addEventListener('change', handleUpdate));
inputs.forEach(input => input.addEventListener('mousemove', handleUpdate));
That's all!!! follow me on Github and check out the solution
