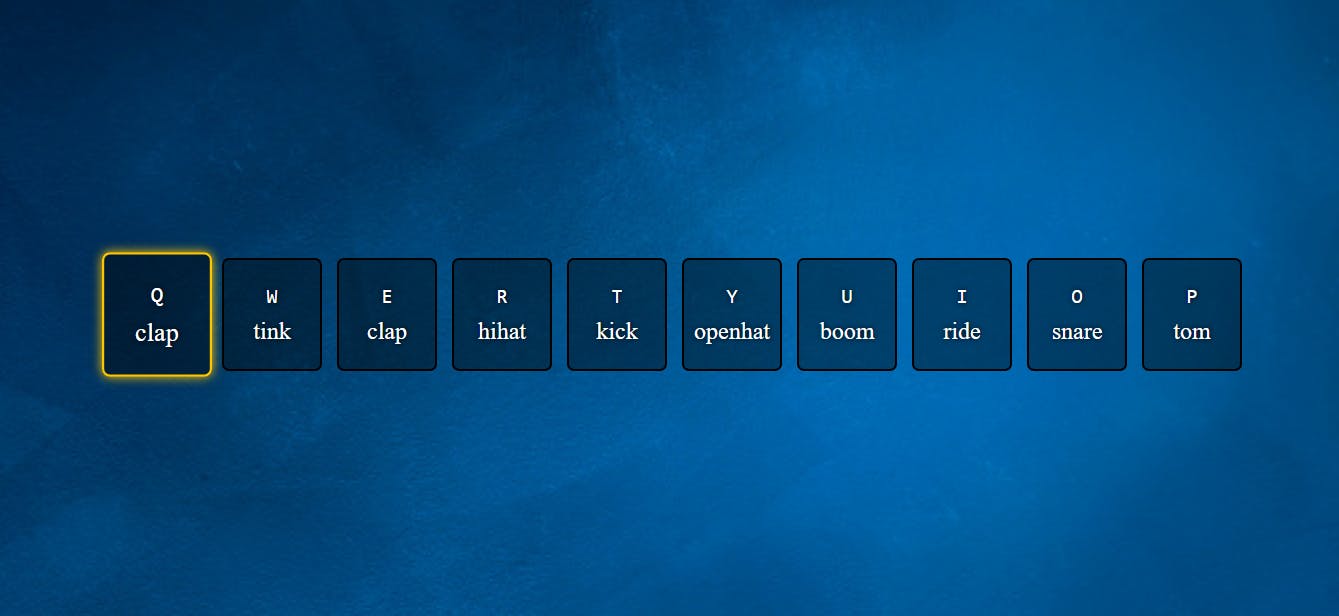
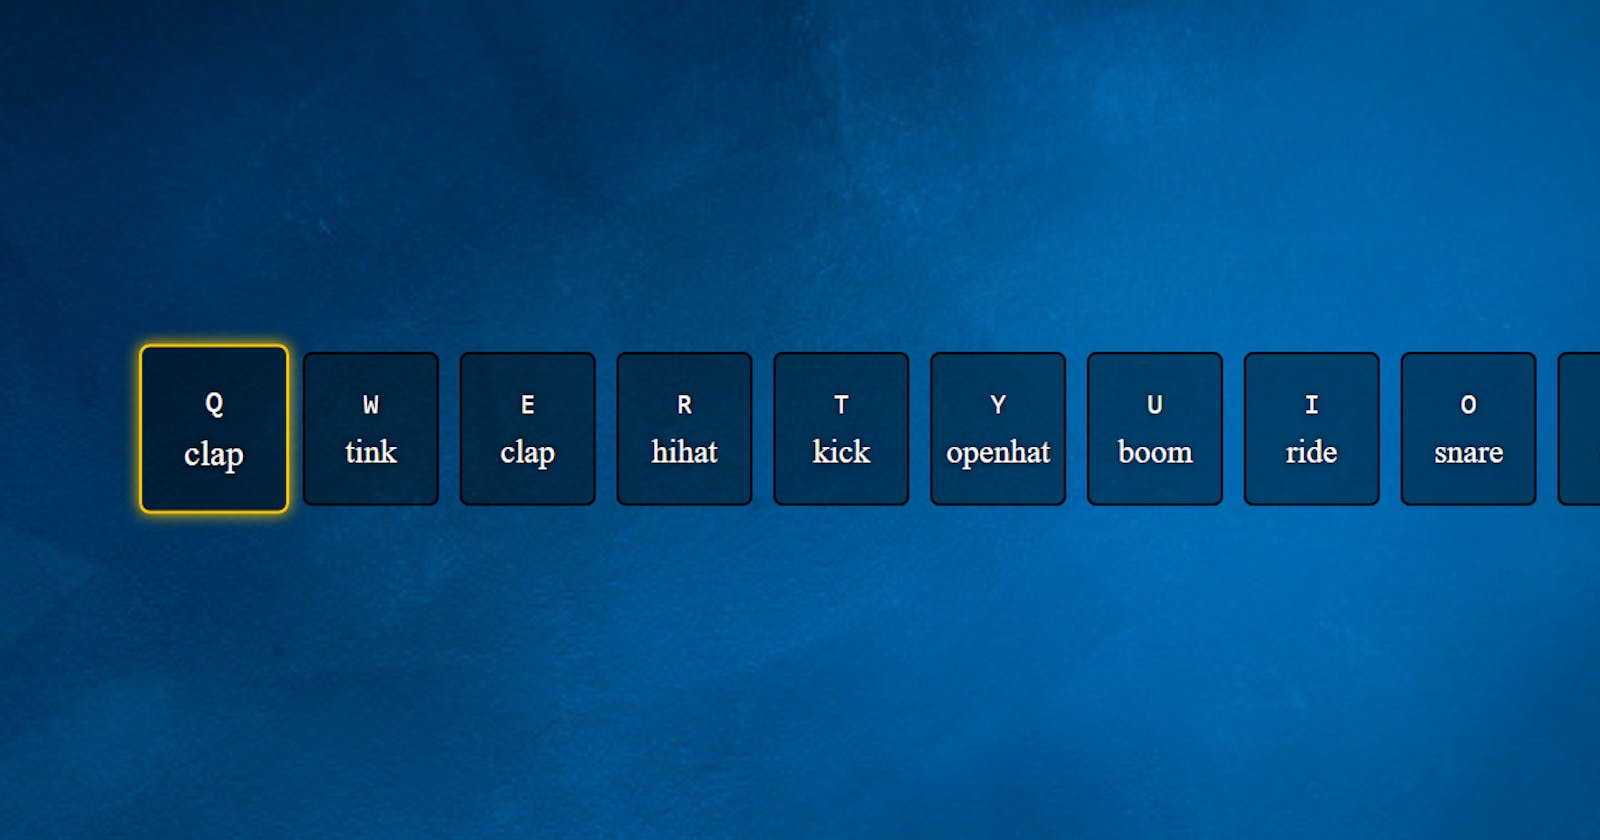
an overview:
I started a 30-day javascript challenge created by Wesbos and I have decided to post every little knowledge I took from the course. The course was created around 5 years ago, however, it is still very beneficial.
The course is well structured with videos, starter files, and links to recap posts. On each challenge, you can choose to code along or try coding yourself before watching the video.
Day 01: Drum kits
objectives:
- create a collection of containers
- each container holds a letter and a sound clip title
- each letter corresponds to a particular key on the keyboard
- each letter is attached to a sound clip
- a sound is played if its corresponding key is punched
- the container is also transformed if its corresponding key is punched
All these objectives are achieved with HTML, CSS and vanilla Javascript.
My approach to the project:
HTML
- I used an unordered list approach; with the
ulas the main container for the keys and thelifor each key. - I created a data-key attribute for each key and declared it to the corresponding keycode.
- I uploaded each sound using the audio tag
- I matched each key to the corresponding sound using the data-key attribute
<body>
  <ul class="keys">
    <li class="key" data-key="81">
      <kbd>Q</kbd>
      <span class="sound">clap</span>
    </li>
    <li class="key" data-key="87">
      <kbd>W</kbd>
      <span class="sound">tink</span>
    </li>
    <li class="key" data-key="69">
      <kbd>E</kbd>
      <span class="sound">clap</span>
    </li>
    <li class="key" data-key="82">
      <kbd>R</kbd>
      <span class="sound">hihat</span>
    </li>
    <li class="key" data-key="84">
      <kbd>T</kbd>
      <span class="sound">kick</span>
    </li>
    <li class="key" data-key="89">
      <kbd>Y</kbd>
      <span class="sound">openhat</span>
    </li>
    <li class="key" data-key="85">
      <kbd>U</kbd>
      <span class="sound">boom</span>
    </li>
    <li class="key" data-key="73">
      <kbd>I</kbd>
      <span class="sound">ride</span>
    </li>
    <li class="key" data-key="79">
      <kbd>O</kbd>
      <span class="sound">snare</span>
    </li>
    <li class="key" data-key="80">
      <kbd>P</kbd>
      <span class="sound">tom</span>
    </li>
  </ul>


  <audio data-key="69" src="/sounds/01 - JavaScript Drum Kit_sounds_clap.wav"></audio>
  <audio data-key="81" src="/sounds/01 - JavaScript Drum Kit_sounds_clap.wav"></audio>
  <audio data-key="87" src="/sounds/01 - JavaScript Drum Kit_sounds_hihat.wav"></audio>
  <audio data-key="82" src="/sounds/01 - JavaScript Drum Kit_sounds_kick.wav"></audio>
  <audio data-key="84" src="/sounds/01 - JavaScript Drum Kit_sounds_openhat.wav"></audio>
  <audio data-key="89" src="/sounds/01 - JavaScript Drum Kit_sounds_boom (1).wav"></audio>
  <audio data-key="85" src="/sounds/01 - JavaScript Drum Kit_sounds_ride.wav"></audio>
  <audio data-key="73" src="/sounds/01 - JavaScript Drum Kit_sounds_snare.wav"></audio>
  <audio data-key="79" src="/sounds/01 - JavaScript Drum Kit_sounds_tom.wav"></audio>
  <audio data-key="80" src="/sounds/01 - JavaScript Drum Kit_sounds_tink.wav"></audio>
</body>
CSS:
for the CSS, the most important part is key class, and a pre-defined style class playing. These two classes are used to animate each key using javascript. The animation occurs for each key when it is being punched.
.key {
  border: solid 2px black;
  border-radius: 7px;
  padding: 1em;
  background: rgba(0,0,0,0.4);
  text-shadow: 0 0 .5rem black;
  transition: all .07s ease;
  color: #fff;
  width: 10rem;
}

.playing {
  transform: scale(1.1);
  border-color: #ffc600;
  box-shadow: 0 0 1rem #ffc600;
}

Javascript:
The javascript is written with two functions. The first will play the sound and add the class playing that transforms the container on keydown. The second function will remove the class playing once the transition time to add the playingclass ends.
//
function removeTransition(e) {
  if (e.propertyName !== 'transform') return;
  e.target.classList.remove('playing');
}

function playSound (e) {
  // selects the particular keycode once the keydown is fired
  const audio = document.querySelector(`audio[data-key="${e.keyCode}"]`);
  const key = document.querySelector(`li[data-key="${e.keyCode}"]`);

  if (!key) {
    return; // to  prevent other keys from activating the sound
  } else {
    key.classList.add("playing");
    audio.currentTime = 0; // to play as soon as the keypad is punched without delay
    audio.play();
  }
}
window.addEventListener('keydown', playSound);

const keys = document.querySelectorAll('.keys');
keys.forEach(key => key.addEventListener('transitionend', removeTransition));
Finally:
I learnt how to work with data- attributes, audio, the keyboard event, and transition event.
follow me on GitHub. check my drumkit project.
